1. Sealing a Cavity Sliding Door: Methods and Considerations
If you already have a cavity sliding door installed, the approach to sealing will differ based on the stage of installation. Let’s break it down into three scenarios:
Option 1: Cavity Unit Already Installed and Finished
In this scenario, consider using the Raven RP2a. Install this seal directly onto the face of the split jamb to seal the vertical gap to the door. To seal the head, start by removing the pelmet and creating a sawcut down the inside of the timber pelmet. Place a Kerf Timber Seal into this slot. Check the gap between the pelmet and your door to get the correct height pile yarn. Also, adding timber stops to the closing jamb and RP120 PVC seals to the inside corners will provide a more comprehensive seal. For under the door: Use the RP129F double seal and screw to the bottom of the interior sliding door panel. Alternatively you can create saw cuts at the door bottom for RP2 insertion.
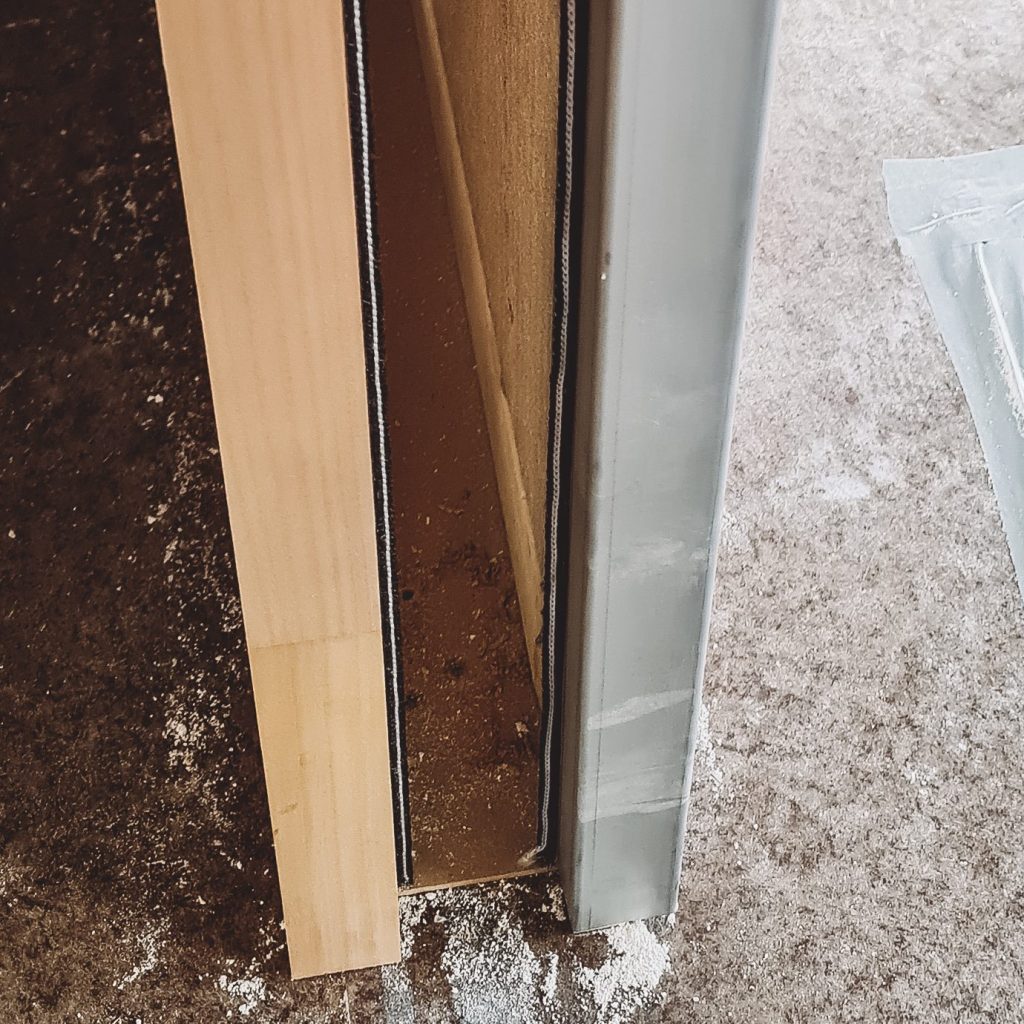
Option 2: Cavity Unit Installed but Not Plastered
If the cavity has been installed but not yet plastered, unscrew the split jamb timber from the cavity pocket and create a 6.5×2.5mm sawcut down the inside of the split jamb. The pile yarn height should be between 6.5-7.5mm depending on the clearance between the door and split jamb. Install the Kerf Timber Seal into this slot. Repeat this process for the inside of the top cover strip pelmet. Again, adding timber stops and rubber seals to the closing jamb cornersand seal to the bottom of the door panel will enhance the seal.
Option 3: Cavity Not Yet Ordered
For those in the planning phase, consider requesting seals inside the vertical aluminum angles when ordering the cavity frame. Additionally, you can request the extra seal for the inside of the pelmet. Timber stops and rubber seals can be added later to the closing jamb to ensure a complete seal upon installation.
2. Making The Bottom of the Sliding Pocket Door System Airtight
The type of sliding door guide used will determine the best sealing solution for the gap under the door, which is often the largest gap to address. If your cavity slider has nylon wedge guides, the Raven RP129F provides an easy installation option. For systems with a roller bearing guide or sawcut guide, the RP51F or RP2b to be screwed to the side of the door for effective gap sealing.
Addressing Common Questions:
What is the Best Way to Seal a Cavity Sliding Door?
The best method depends on the stage of installation:
For finished doors: Use RP2a directly on the split jamb and add additional seals to corners.
For doors not yet plastered: Install RP2 into saw cuts on the jamb and pelmet.
For pre-installation: Request seals during cavity frame manufacturing and use RP2 on the pelmet.
For under the door: Use the RP129F double seal and screw to the bottom of the interior sliding door panel. Alternatively you can create saw cuts at the door bottom for RP2 insertion.
Sealing pocket door systems effectively is crucial for maintaining comfort, controlling airflow, and reducing energy costs. By following the recommended methods based on your installation stage, you can achieve a comprehensive seal that enhances the functionality and comfort of your living space.